My deployment setup (Part 1)
The details of the system infrastructure of this website
Ever since I was a kid, I dreamt of having a personal website. I am not really sure why; I certainly did not know what would I put there, let alone how to build one. But the concept of having your own little corner in this upcoming-but-huge Internet thingie seemed cute enough for me.
As I grew older, I learned about making a website: all the nitty-gritty details of HTML, CSS (JavaScript, on the other hand, wasn’t really a part of my formal education - for better or for worse), computer networks, TCP/IP, HTTP(S) etc. I made them in various technologies at various stages of my education for various classes. I even (sort of) learned a thing or two about me, my, virtues and flaws, likes and dislikes, and most importantly what I would put up on my website.
However, no one ever really taught me how to deploy one. Ever. So I had to learn to do it by myself. I consider this a letter to the younger me, a lecture of sorts guided to teaching a young me. And, if you read this entire post, you may learn as well!1
The server
An obvious prerequisite is the server machine, a big computer running a serving process which talks HTTP, runs programs and returns their outputs to the sender. Those programs can be as different as it gets: they can as simple as reading a file and returning the contents verbatim, or as complicated as crunching several gigabytes of data and generating the structured output. However, you still need the machine.
Although your computer can in theory be such a machine, that’s seldom a good idea. You would have to keep your computer on all the time2, always attached to the internet, publicly available on a specific IP address and a TCP port, and always have some of your resources spent on the server process. Luckily, renting someone else’s computer for the exact purpose of spinning up a website is a thing - it’s called web hosting. Since that business is here for decades, there is an entire spectrum of possibilities. You could rent a bare server and doing everything by hand, or you could rent an almost entirely managed solution in which all you provide is the text and the service does the rest. There are tradeoffs, however: with fully managed solutions, you get that specific use case and nothing else, but a server instance gives you an opportunity to do other things. Since I had more plans, I decided to go with my own instance.
There is a lot of computing instance providers out there in the wild. One can choose between them on the basis of popularity, uptime, distance from your location etc. I chose on the basis of price  . By far, the cheapest server provider I found was Hetzner. Running an instance there literally costs me two coffees monthly.
After registration, I selected the cheapest option, put latest (at a time) Ubuntu and… that was it. Really.
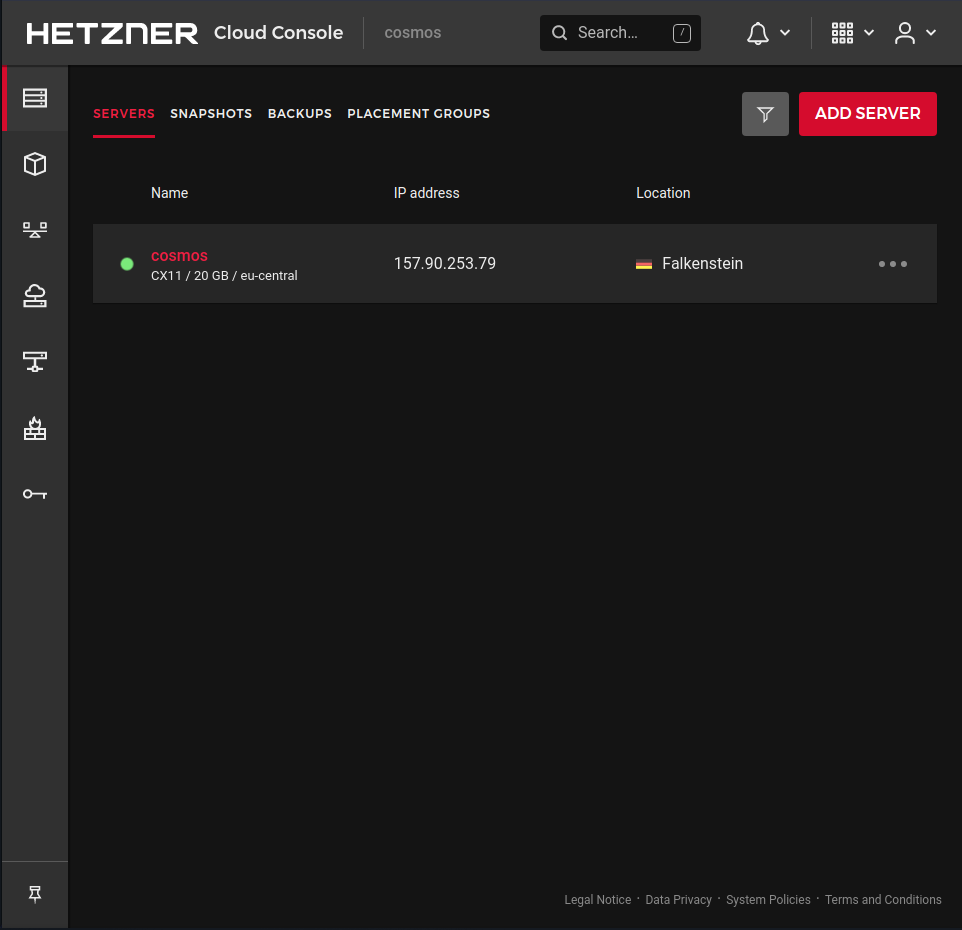
cosmos for no particular reason. The instance also obtains a public IP address. This will be cruial in the next step.
The domain
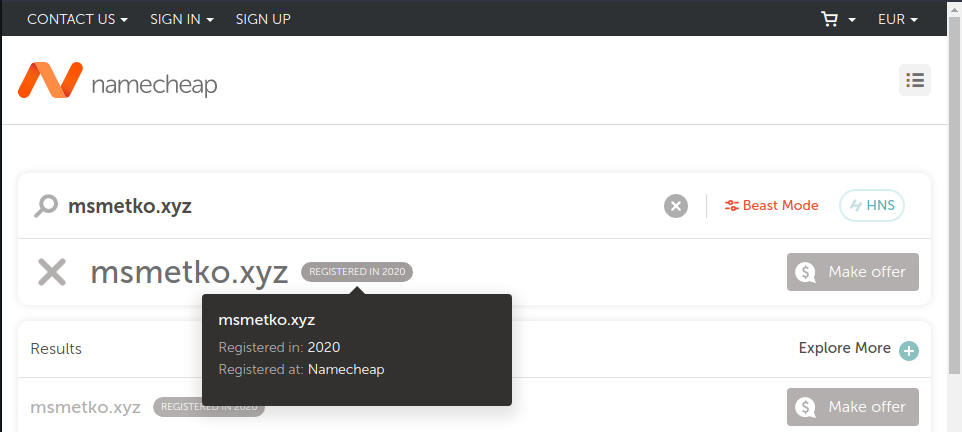
Before I make my webpage, it would be great to have a domain. A domain is a string that takes you to a dedicated IP address. That mapping is stored by IANA and retrieved using DNS protocol. Domain names cost money, though. msmetko.com cost tens of € which was too much for my student budget. msmetko.xyz, on the other hand, cost like 2€ for a year, which was acceptable  3. Cheap domain names can be bought at https://namecheap.com (this is whatever opposite of “false advertising” is). The procedure was also quite easy, once you register, you can choose the domain name, and when you input payment data and click
 Buy! you now own your domain.
Pointing the domain name to the IP address
Just buying the domain name won’t magically make the internet send the traffic to the server instance. You must create a mapping that says “msmetko.xyz points to 157.90.253.79”. This mapping is called and A-record. The A-records are managed in Namecheap domain settings. When you change these settings, Namecheap propagates them to the entirety of Internet (although asynchonously). DNS servers learn about a particular msmetko.xyz ata certain IP adress, so the next time someone tries to visit that domain, they can answer with a correct IP address.
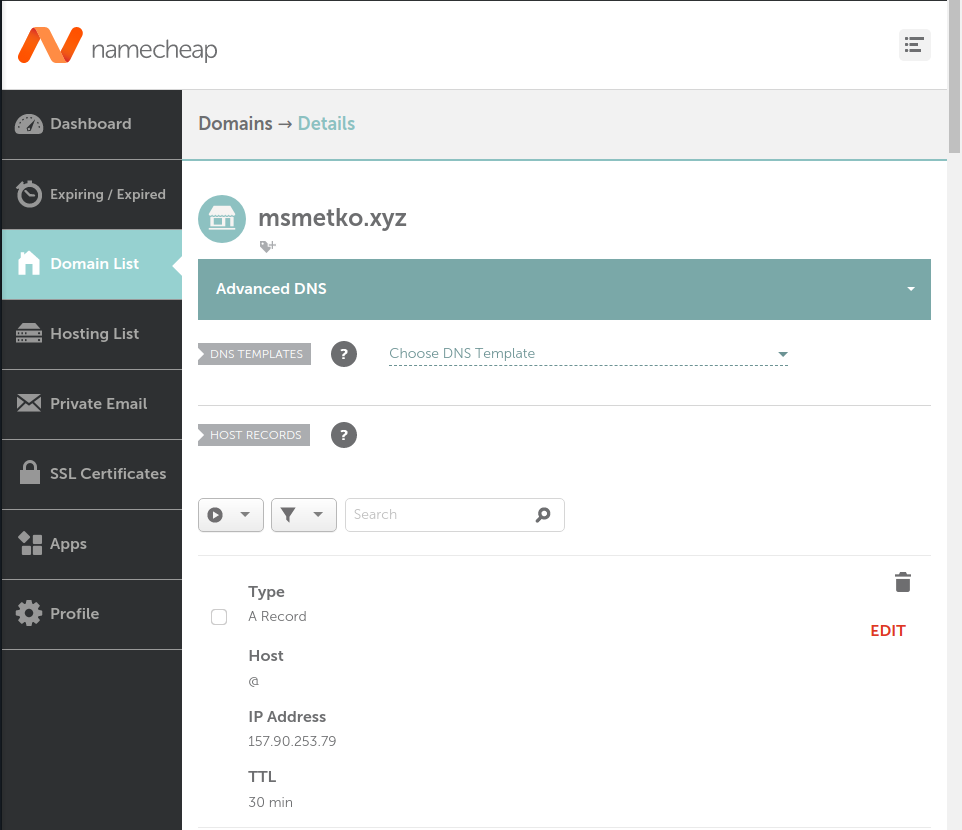
@ meaning root of the domain, which is msmetko.xyz. The IP address is that same Hetzner cloud server instance public IP address. TTL was left at a default value.
That’s it for the first part, the infrastructure around having a website. Now the requests can hit my server, but nothing waiting there for them. In the next part I’ll cover the deployment of my website, this blog, and other services.
 and that everybody should do it my way. It worked for me and my needs. Yours may be different.
Back to main page